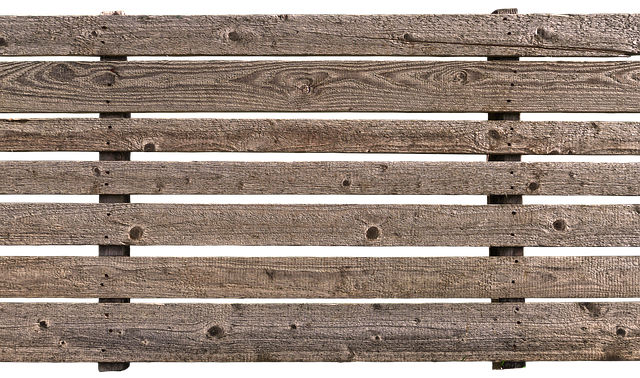
How to straighten warped fence panels
Every woodworker appears to have a hard time keeping warping at bay. As a first-time DIYer, homeowner or construction worker, it can be discouraging to see all of your hard work and money disappears at the sight of warped wood. Warping can be induced by a variety of factors. Weather is a major contributor, since even a small amount of moisture in the air or a change in temperature can cause untreated wood to bend almost instantly. Perhaps you weren’t sure which type of purchase to make, so you went with the cheapest option, which is also the most vulnerable to warping. Or perhaps you brought home wood that had not been pre-treated or dried at all, leaving you stumped as to how to salvage the item.
It doesn’t take much for inexperienced wood purchasers to end up with warped wood. Warped wood, on the other hand, isn’t the end of a piece of wood’s existence. Since the beginning of time, woodworkers have used warping as a natural kind of manipulation. When you look at how guitars or boats are made, it’s clear that this is the case. So hold off on tossing out that lumber just yet. If you follow the procedures below, which describe the most common way of de-warping? Continue scrolling if you require alternate approaches based on your individual circumstances.
- Spray the warped area with water
Giving a piece of wood its natural wetness is the best approach to restore its ability to move. You can do this by submerging it in water, such as a tub or basin, if the amount of wood is small enough. Another option is to simply use a spray bottle loaded with water to dampen your wood.
Make sure it’s sufficiently dampened so that a significant volume of wood has access to enough water. Otherwise, only the surface area of the wood, which controls the majority of the shape, will become damp. If you don’t have access to a spray bottle or a tub of water, laying damp wet towels on the wood and letting it to soak it up and straighten out is a simple solution. If the wood is severely deformed, completely wrap it in plastic wrap to retain the moisture in for longer than usual, allowing it to move more before it evaporates.
- Keep Your Boards Straight Using a Glue Mixture?
Once the initial water has been soaked in, moving to a mixture of both water and glue is a terrific technique to keep the boards straight. The only adhesive you should use is Elmer’s white glue or wood glue combined with water, according to experts. Because natural sap is no longer present in wood after it has been cut and prepped for use in a building project, this glue will act as a substitute for the sap and aid in keeping the wood fibers full. This also means that natural cracks will mend and, in the long term, there will be far less war page. Another advice is to seal the grain from potential water damage as soon as the liquid has dried, since this will assist the glue last as long as possible.
- Using Clamps or Applied Pressure let it to dry
Next, you must apply a significant amount of force to the wood in order to bend it in the desired direction. Clamps are an excellent technique to compel wood to bend to your will. Use clamps or a heavy object to apply an even amount of pressure over a large area. This procedure should be done with caution, as too much pressure can harm the wood fibers. Patience is required at this point. Leave the clamps or weight in place for at least a week. It’s critical that they dry in a warm environment. Check it on a regular basis to see if the weight is too heavy and causing damage to the wood. If that’s the case, simply replace it with something less bulky or constricting. The wood fibers will be able to breathe and recover to their natural size as a result of this.
- Using artificial heat to speed up the drying process
If you don’t have the time to wait for a piece of wood to cure for a week, artificial heat is a possibility. You can always use a heat lamp to speed up the procedure if the warping is only on a tiny section of your plank. If you’re working on a larger project, wrap a heated blanket around the wood or lay it out evenly on a warming mat. Depending on how much mobility is required, both of these choices will take roughly six to eight hours per day. Remember that if you don’t get the results you want the first time, you can always use more water, pressure, or heat to keep the wood moving.
- Prevent Future Warping by Staining, Painting or Sealing
It’s important to remember that un-warping wood isn’t the end of the fight. Make sure you take all required precautions to avoid further bending. This may entail applying a sealer to the ends of the wood planks, as moisture evaporates from the ends of a plank of wood 70 percent faster than it does from the body of the board. Staining or painting your fence as soon as possible will also help your wood keep unwanted moisture out and necessary moisture in, allowing you to get back to finishing the project you started in the first place. If you have a lot of time to wait but not a lot of equipment, soaking some towels, applying them to the deformed regions of the wood, and placing them out in the sun is an easy approach to bring moisture back into the warped sections of your wood. Over time, the sun will naturally heat up the wood planks, saving you money on your next electricity bill.

