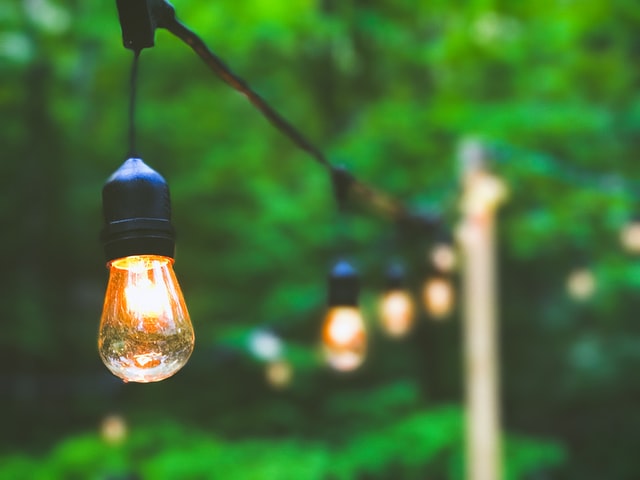
How to hang string lights in backyard without trees
String lights hung from the ceiling are a simple way to add a touch of enchantment to your backyard. String lights are fantastic since they’re simple to hang and may make a tremendous impact in your backyard’s atmosphere. Although it is common to hang string lights from trees, there are many more options. We’ll show you how to place string lights without trees in your backyard, as well as some other helpful hints.
- 4×4 Posts with Hanging Lights
- Using PVC and a Metal Pole.
- Illumination along the fence.
- Lighting for the Deck
- String Lights for a Gazebo, Pergola, or Covered Patio
- Light Up the Umbrella with String Lights.
- Hang Backyard Lights from Planters
DIY Post with Hanging Lights
You may simply make your own DIY post if you can’t install string lights in your garden due to a lack of trees. This choice is wonderful since it allows you to use both lights and plants to brighten up your yard. This procedure may appear to be time-consuming, yet it will pass much more quickly than you expect. You may also sit back, relax, and enjoy your beautiful backyard once you’re done.
Step 1: Paint the planters and posts
Using a moist towel, wipe off the planters and allow drying fully. Spray paint them entirely by turning them upside down on a drop cloth. For complete covering, use as many coats of paint as needed. Turn pots over and paint the inside of the rim when the outside layer has dried.
Paint one end of the post while masking off the last 5′′ with painters tape. Allow the paint to dry fully before masking the painted area of the band, leaving approximately 1′′ of the band exposed.
Remove the painter’s tape and paint the remaining band with its complementing colour.
Step 2: Pour concrete into the planter
Within each of your pots, place the unpainted end of a post. Distribute the dry concrete mix among the pots in an even fashion. To calculate the quantity of water for each planter, follow the manufacturer’s recommendations and mix thoroughly with a stick. On keep the post in place, apply painter’s tape to both sides. Allow the concrete to cure according to the manufacturer’s directions once it’s leveled and the post is in place.
Step 3: Add Plants
Add about 3′′ of drainage material, such as gravel, once the concrete has completely hardened. Lightly layer potting soil on top of the drainage material. You may now put whatever plants you want in there! When deciding which plants to utilize, keep in mind the position of the posts.
If you have a shaded backyard, read this article to find out which plants would thrive in it.
Step 4: Put the Lights in Place
Make a rectangle with the planters, allowing no more than 10 feet between them. One of the cup hooks should be used to hang one end of the string lights. If there isn’t a hook, you may alternatively use cable or twist ties. Make an outline of your plant using the lights. Begin zig zagging the string lights from side to side to evenly disperse them once you’ve made a rectangle shape with them. Start by setting the lights on the ground beneath the rectangle to get a sense of where they should go. As you did with the light string’s beginning, secure the cup hook’s opposite end. Finally, connect it to an outlet using an outdoor-safe extension cable and enjoy it!
Hung lights along the fence.
A cheap and easy option to add some outdoor illumination to your garden is to hang string lights from your fence. This method involves very little equipment and can be completed by anybody with a fence.
Step 1: Arrange the string lights.
Begin by identifying where your lights will get electricity and whether or not an outside extension cord will be required. When planning your lighting layout, keep the position of the power supply in mind. Lay your string lights around the fence’s exterior to get a sense of how much length you’ll need and where support posts will be needed. You might have a friend or family member hold one end while you hold the other if you has one available. You’ll be able to view how they’ll seem once they’ve been hung up.
Step 2: Decide on the type of wooden posts you want to use
You’ll need a wooden post to keep the string lights in place and protect them from the elements, depending on the string lights you pick. Make sure the posts are of the same length, size, and form while you’re picking them out. You may paint the posts in whatever colour you like to make them more personal.
Step 3: Attach the mounting hooks
In order to keep your string lights in place, you’ll need to attach mounting hooks appropriately. Make sure the mounting hooks are securely fastened to the wooden post.
Step 4: Install the Posts
To fix the wooden posts to the fence, use a hammer and nails. Measure your posts using a tape measure to ensure that they are all the same height and that your lights hang evenly.
You may place the posts anyway you choose, as long as they are close enough together to support the lights.
Step 5: Hang the String Lights
You may now begin hanging your lights after everything is in place. Begin by connecting the lights to an outlet or an extension cable outside. To check the spacing, place the first light or bulb adjacent to the mounting hardware. Remove the lights from the sockets and hang the remaining string lights. Hang the lights on each of the fence supports as you go along the fence. If you like, you may use mounting hooks built into your fence to hang the lights.

