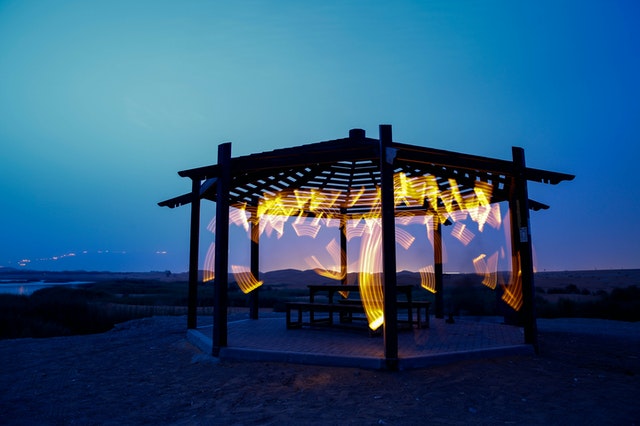
How to hang lights on metal gazebo
You certainly can’t ask for a simpler chore than hanging string lights. The most difficult part is ensuring that the wire is free of knots and that all of the lights are evenly spaced. If you’re tying a string to a piece of wood, that is. Attaching string lights to metal is a different story and may require a little more effort. You may still want to enjoy the outdoors or entertain guests in your yard as darkness falls. Adding lights to your pergola in the evening will help to create a relaxing and inviting environment. Hanging lights on a pergola is simple, safe, and enjoyable, whether you want to create an exciting centerpiece or light up the area with creative designs.
String Lights on a Metal Pergola
String lights are simple and straightforward to attach to a wooden pergola. It should take you no more than 20 to 30 minutes to complete the task. Furthermore, you have a plethora of options for securing those string lights. Many of those solutions aren’t applicable to metal pergolas because they don’t work. As a result, you’ll need some more solutions to keep those string lights safe and attractive. Clips are attached to the top of the bulb socket or the wire above the bulb on most commercial-grade patio lights. Clip the lights to the mounting wire if you used one.
Ties made from plastic
These have already been seen. They have a clasp, and all you have to do is feed one end of the plastic through the clasp and tighten it. Arrange the string lights in the desired pattern, then raise the string and secure it with ties. If you don’t have any plastic ties on hand, wire ties and string might be used instead.
A Chandelier can be made
When you’re finished with this choice, you’ll be able to show off your artistic and ornamental abilities. A little wire, a metal hoop, paint, and the lights are all you need. The first step is to spray paint the metal hoop in a color that complements your pergola’s color scheme. Then, to ensure that the hoop hangs evenly and is balanced, attach around 3 pieces of wire to various places of the hoop. Make the wire long enough to tie them together at the desired height and location above the metal frame. Twist the wire to keep the lights in place once that’s done. Hang your lights over the hoop once you’ve completed with that task. The string lights can be held in place on the hoop with plastic ties.
Anchors and hooks are four of the most important items to have on hand
This is a time-consuming process that requires drilling holes in your metal pergola, but it is effective and long-lasting. Drill little holes where the lights will be secured. When the holes are ready, attach an anchor in each one before screwing the hook into place. Ensure that the hooks are facing upwards. Simply hang your string lights over the hooks after putting the hooks and anchors in place. The lights can be secured to the hooks with plastic ties once more. This approach gives you a lot of design options, and the hooks should be undetectable if you paint them the same color as the pergola.
Chandelier construction
A huge metal hoop should be purchased. Depending on the size of your chandelier, locate a hoop. Choose a hoop with a diameter of at least 30 inches for a larger creation that will catch attention. You’ll be able to wrap the lights more than once this way. This size of hoop can be found online or in a number of hardware stores. You could also buy a hula hoop and paint it matte with spray paint.
Using zip ties, secure the string lights to the hoop
Begin wrapping a zip tie around the hoop at the end without the plug. Wrap the light strings around the hoop again and again, fastening them as you go. Make use of as many lights as necessary to completely illuminate the area. Plugging the chandelier in on a regular basis will allow you to check its brightness.
Attach low-gauge metal wire to the hoop in four points with equal distances between them
Use a wire with a gauge of 20 or less to ensure flexibility. The wire will be thicker as the number gets smaller. To fasten the wire to the hoop, twist it. How low the chandelier hangs are determined by the length of wire you utilize. Trim it to the appropriate size with a wire cutter.
Make a loop in the center of the hoop with the wires
The chandelier will be hung from the loop. To avoid the chandelier hanging crookedly, make sure all the wires are the same length.
From a metal hook, hang the chandelier
Install a metal hook at the top of your pergola to ensure that the chandelier is securely suspended. Hooks are available at any hardware shop and can be screwed or nailed into place. To achieve the most equal lighting, hang the chandelier in the pergola’s center.
Install a ceiling extension cord
Connect the end of the chandelier with an extension cord. Run it along the wires and staple it to the pergola to conceal it as much as possible. When its dark and the lights are turned on, choose a darker colored cable that’s harder to spot. These are only a few of your choices. If you think about it, you might come up with some amazing alternate approaches if you brainstorm a little. The design of your pergola, as well as the metal used to construct it, will have the greatest impact. We make every effort to maintain a fair and balanced environment in order to assist you in making the best decision possible.

